Yesterday, we introduced the topic of mind maps and explained some of its benefits and features. Today, we'll begin learning about how to draw these maps step by step, with images that could help you.
Drawing Basic Mind Maps
To draw a Mind Map, follow these steps:

Drawing Basic Mind Maps
To draw a Mind Map, follow these steps:
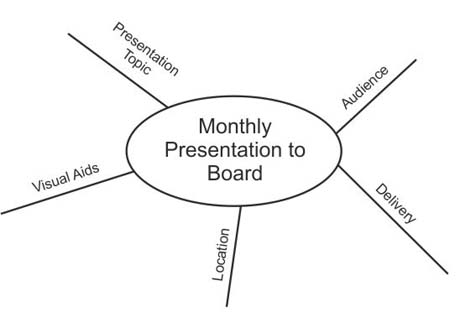
1. Write the title of the subject you're exploring in the center of the page, and draw a circle around it. This is shown by the circle marked in figure 1, below.
(Our simple example shows someone brainstorming actions needed to deliver a successful presentation.)
Figure 1
2. As you come across major subdivisions or subheadings of the topic (or important facts that relate to the subject) draw lines out from this circle. Label these lines with these subdivisions or subheadings. (See figure 2, below.)
Figure 2
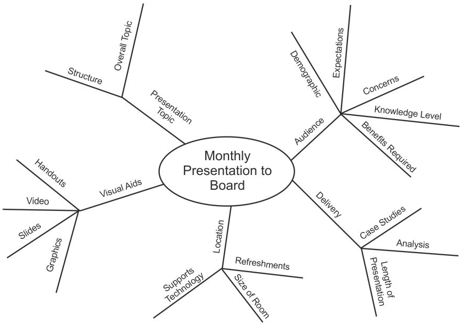
3. As you "burrow" into the subject and uncover another level of information (further subheadings, or individual facts) belonging to the subheadings above, draw these as lines linked to the subheading lines. These are shown in figure 3.
Figure 3
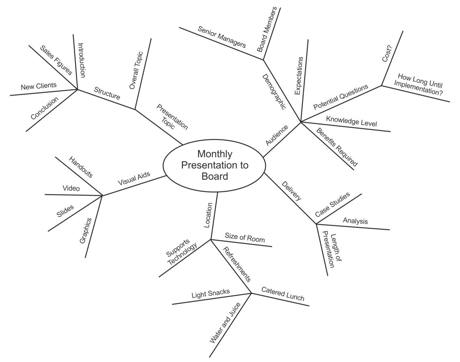
4. Then, for individual facts or ideas, draw lines out from the appropriate heading line and label them. These are shown in Figure 4.
Figure 4
5. As you come across new information, link it in to the Mind Map appropriately.
A complete Mind Map may have main topic lines radiating in all directions from the center. Sub-topics and facts will branch off these, like branches and twigs from the trunk of a tree. You don't need to worry about the structure you produce, as this will evolve of its own accord.
For more check out: http://www.mindtools.com/pages/article/newISS_01.htm
Also, you can check out our Facebook page for videos, pictures and really cool articles at www.facebook.com/SkoolShop and follow us on twitter at @Myskoolshop
Brought to you by : www.skoolshop.com/
Come back again tomorrow!
No comments:
Post a Comment